S/MIME Certificate Configuration for iOS Outlook
Zane LucasShare
S/MIME SSL Certificate configuration for iOS Outlook requires specific procedures to ensure secure e-mail communications function properly across mobile devices.
Understanding the unique SSL Certificate management requirements of iOS devices helps organizations implement robust e-mail security that works seamlessly with their existing infrastructure.
Following our initial S/MIME SSL Certificate in Office 365 🔗 instructions to enable trust, additional steps are required to ensure proper functionality within the iOS Outlook application, which handles SSL Certificate management differently than desktop clients.
iOS introduces unique challenges that require careful planning and implementation to achieve reliable S/MIME functionality.
iOS Outlook SSL Certificate Architecture
iOS Outlook utilizes a specialized SSL Certificate management approach due to Apple® security restrictions and keychain architecture. The iOS operating system maintains separate keychain stores, with third-party applications like Outlook requiring specific SSL Certificate placement to function correctly.
The fundamental difference between iOS Outlook and other e-mail clients lies in SSL Certificate accessibility. While desktop Outlook clients can access the Windows SSL Certificate store directly, iOS Outlook must rely on either the Microsoft® publisher keychain or manual SSL Certificate installation methods.
iOS devices prevent third-party applications from accessing the system keychain, requiring SSL Certificates to be properly positioned for Outlook iOS to recognize and utilize them for S/MIME operations.
Enterprise Deployment via Microsoft Intune®
Microsoft Intune® can deploy S/MIME SSL Certificates to iOS devices at scale, but the process requires significant technical expertise and infrastructure.
The Intune method requires installing the PFX Certificate Connector on a Windows Server® or Azure VM, creating multiple Trusted SSL Certificate profiles for each root and intermediate SSL Certificate in the chain, and using PowerShell cmdlets with the Microsoft Graph API to import individual user SSL Certificates.
Organizations considering this approach should be aware that Intune cannot import SSL Certificate bundles and requires each SSL Certificate in the chain to be deployed as a separate profile. Additionally, individual user SSL Certificates cannot be uploaded through the web interface and must be scripted via PowerShell.
For detailed Intune deployment instructions, organizations should consult Microsoft® official documentation and consider engaging Microsoft® support or a qualified consultant. The complexity of this method often makes it suitable only for large enterprises with dedicated IT teams experienced in MDM deployments.
Manual SSL Certificate Installation (Recommended)
Manual SSL Certificate installation provides the most straightforward method for deploying S/MIME functionality to iOS Outlook. This approach works for organizations of all sizes and does not require complex infrastructure or scripting knowledge.
Understanding the Sectigo® SSL Certificate Chain
Sectigo® S/MIME SSL Certificates obtained through Trustico® use a cross-signed chain for maximum compatibility. The complete chain includes the USERTrust root SSL Certificate, the cross-signed Sectigo® intermediate, and the issuing intermediate SSL Certificate.
Your S/MIME SSL Certificate from Trustico® will include the complete chain bundled with your personal SSL Certificate and private key, ensuring proper validation across all devices.
Exporting SSL Certificates from Desktop Outlook
If your S/MIME SSL Certificate is already installed on a desktop computer, you can export it for iOS installation.
In desktop Outlook, navigate to File, then Options, Trust Center, Trust Center Settings, and finally E-Mail Security. Click Import/Export to access SSL Certificate management options.
Select Export your Digital ID and choose a secure location for the .PFX file. Create a strong password for the exported SSL Certificate file, as you will need this password during iOS installation.
Save the .PFX file temporarily to a location accessible from your iOS device, such as secure cloud storage or as an encrypted e-mail attachment to yourself.
Alternative Export Using Windows Certificate Manager
You can also export SSL Certificates directly from the Windows SSL Certificate store using Certificate Manager.
Open Windows Certificate Manager by typing certmgr.msc in the Run dialog. Navigate to Personal, then Certificates, and locate your Sectigo® S/MIME SSL Certificate.
Right-click the SSL Certificate and select All Tasks, then Export. Choose Yes, export the private key when prompted.
Select Personal Information Exchange - PKCS #12 (.PFX) as the format. Enable the option to include all SSL Certificates in the certification path. This ensures the complete chain from USERTrust root through to your personal SSL Certificate exports together.
Set a strong password to protect the exported file. This password will be required when installing on your iOS device.
Installing SSL Certificates on iOS Devices
Transfer your .PFX SSL Certificate file to your iOS device using a secure method. E-Mail the file to yourself as an attachment, ensuring you use an encrypted connection, or upload it to secure cloud storage temporarily.
On your iOS device, open the .PFX file from your e-mail or cloud storage. iOS will automatically recognize it as a profile and prompt you to install it.
Tap Install when prompted and enter your device passcode if required. Enter the password you created when exporting the SSL Certificate.
iOS will install the entire SSL Certificate chain, including the USERTrust root, Sectigo® intermediates, and your personal SSL Certificate.
After installation completes, verify the SSL Certificate by navigating to Settings, then General, then VPN & Device Management. Your S/MIME SSL Certificate should appear under Configuration Profiles.
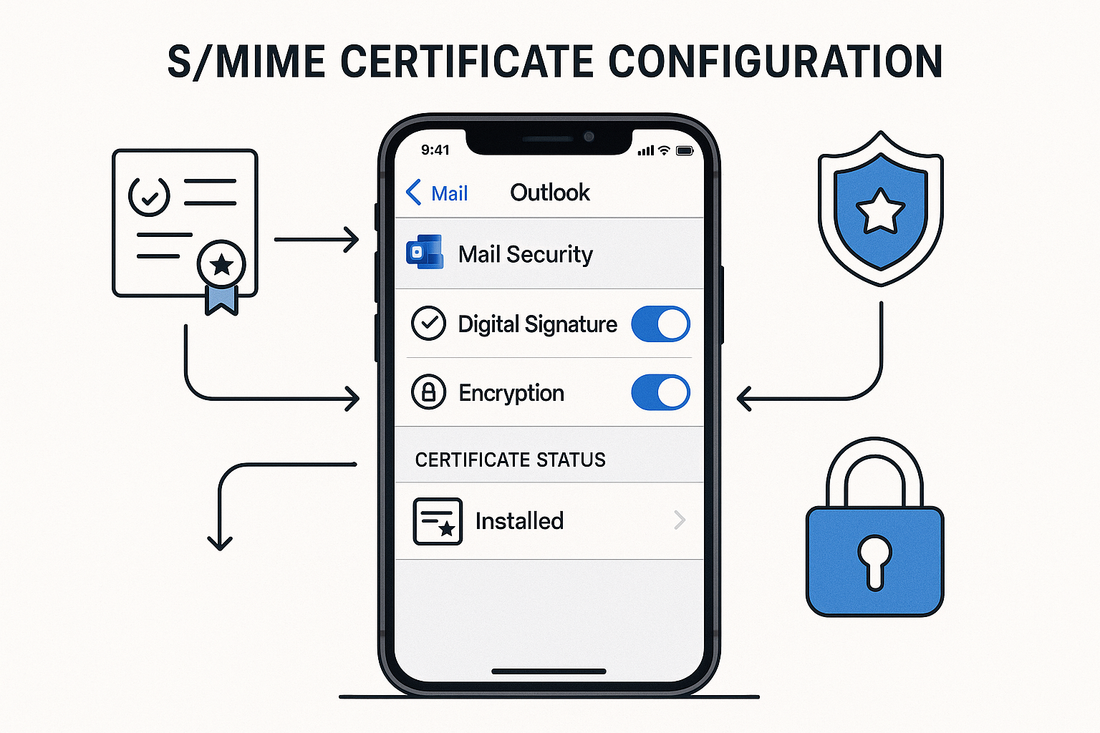
Configuring iOS Outlook for S/MIME
Launch the iOS Outlook application and tap your profile picture in the upper left corner. Scroll down and tap the settings gear icon to access Outlook settings.
Under Mail Accounts, select the e-mail account that matches the e-mail address in your S/MIME SSL Certificate. The e-mail address must exactly match what appears in the SSL Certificate's subject or subject alternative name field.
Scroll down to find Security settings and tap to open them. Toggle the S/MIME switch to the on position.
Once enabled, Outlook will automatically detect your installed SSL Certificate. You may see options to set default signing and encryption preferences based on your organizational requirements.
iOS Outlook will automatically disable the Organize By Thread setting when S/MIME is enabled to prevent SSL Certificate complexity issues in conversation threads.
Testing S/MIME Functionality
After configuration, test your S/MIME setup by composing a new e-mail message. Tap the three dots (ellipsis) menu in the compose window to access additional options.
You should see options to Sign and Encrypt the message. Select Sign to digitally sign the message with your SSL Certificate.
If the recipient also has an S/MIME SSL Certificate installed and configured, you can select Encrypt to secure the message content so only they can read it.
Send test messages to colleagues who also have S/MIME configured. Recipients should see a ribbon or seal icon indicating your message was digitally signed. They should be able to tap this icon to view your SSL Certificate details and verify your identity.
Troubleshooting Common Issues
If iOS Outlook displays trust warnings when using your SSL Certificate, the complete chain may not be installed properly.
Verify your .PFX file includes all SSL Certificates in the chain. For Sectigo® SSL Certificates, this should include the USERTrust RSA Certification Authority root, Sectigo Public Email Protection Root R46 (cross-signed), and Sectigo Public Email Protection CA R36.
Re-export the SSL Certificate from Windows® ensuring you select "Include all certificates in the certification path if possible" during the export process.
SSL Certificate Not Appearing in Outlook
If your SSL Certificate does not appear in iOS Outlook after installation, verify the e-mail address matches exactly.
Check that your primary SMTP address in Exchange Online or your mail account settings exactly matches the e-mail address in your S/MIME SSL Certificate.
Ensure the SSL Certificate is properly installed by checking Settings, General, VPN & Device Management for the profile.
Unable to Encrypt Messages
Encryption requires both sender and recipient to have valid S/MIME SSL Certificates configured.
Verify the recipient has their S/MIME SSL Certificate properly installed and configured in their e-mail client.
Exchange contact cards with digital signatures first. This allows each party's client to obtain and trust the other's public SSL Certificate for encryption.
SSL Certificate Management Best Practices
Store your .PFX file securely after installation. You will need it for installing on additional devices or after device replacement.
Document the password for your .PFX file in a secure password manager. Without this password, you cannot install the SSL Certificate on new devices.
Remove expired SSL Certificates from your devices to prevent confusion. iOS may attempt to use expired SSL Certificates if they remain installed.
Maintaining Secure Mobile Communications
Manual SSL Certificate installation provides a reliable method for enabling S/MIME on iOS Outlook that works for organizations of all sizes. While enterprise deployment through Microsoft Intune® is possible, the complexity often outweighs the benefits for most organizations.
The manual method ensures users can quickly enable secure e-mail without requiring infrastructure changes or specialized technical knowledge. IT departments can provide simple instructions for users to self-install their SSL Certificates.
Working with Trustico® for your Sectigo® S/MIME SSL Certificates ensures you receive properly formatted SSL Certificates with the complete cross-signed chain for maximum compatibility.
The .PFX files provided include all necessary SSL Certificates from the USERTrust root through to your personal SSL Certificate, simplifying the installation process.
The Trustico® support team can assist with SSL Certificate selection, export procedures, and troubleshooting to ensure successful S/MIME deployment across your mobile infrastructure.